It is recommended that you use
the Chrome browser to ensure a better experience.x
Caselabs | Sma8 Manual ^hot^
Caselabs | Sma8 Manual ^hot^
Lay the motherboard tray flat. Install brass standoffs matching your form factor (SSI-EEB, E-ATX, ATX, or Micro-ATX).
Secure the tray to the rear frame using the integrated thumbscrews. 4. Radiator & Liquid Cooling Configurations
: Attach the four vertical corner pillars to the bottom chamber floor using the provided 6-32 screws. The Mid-Plate caselabs sma8 manual
Based on community-aggregated "manual" information and teardown logs, here is the standard assembly procedure for the SMA8 frame.
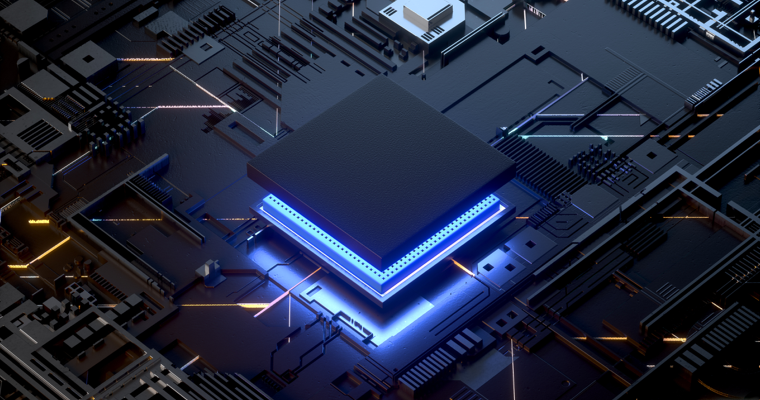
Whether you are unboxing a pristine legacy case or performing a modern system refresh, this comprehensive reference guide replicates the core blueprints and architectural parameters found in the official CaseLabs Manual Documentation . 🛠️ Step-by-Step Chassis Assembly Order Building a CaseLabs SMA8 Go to product viewer dialog for this item. Lay the motherboard tray flat
The CaseLabs Magnum SMA8 remains one of the most legendary, sought-after full-tower PC enclosures ever engineered. Designed for extreme water cooling enthusiasts, its modular aluminum construction offers unparalleled flexibility. Since CaseLabs closed its original operations and later underwent a brand revival, finding an official, comprehensive manual can be challenging.
The lower chamber is spacious enough to accommodate up to two ATX power supplies. Extensive Component Clearance: Whether you are unboxing a pristine legacy case
Because the SMA8 features high-airflow ventilation slots, utilize aftermarket magnetic dust filters over the large intake zones to reduce dust buildup.
Heavy-duty aluminum with stainless steel fasteners.
Install the lower horizontal support bars. This isolates the lower radiator/PSU chamber from the main chamber. Step 2: Mid-Plate Installation
Secure the rear PCIe modular bracket to the tray assembly using 6-32 screws.